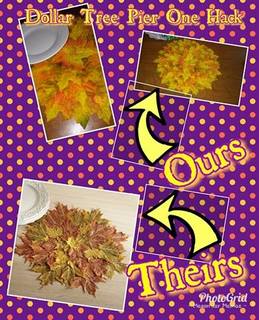
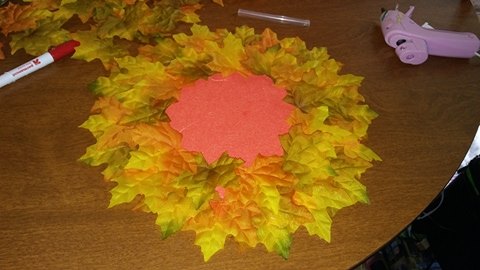
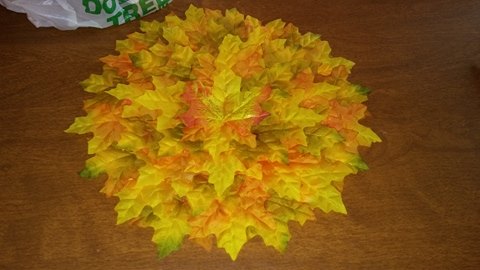
 I c About a week ago I was walking through one of my favorite -But overly priced home decor stores and saw these leaf place mats that I fell in love with, However $6 - $8 per piece was a no go, especially if you needed quite a few of them for a larger family event such as Thanksgiving dinner. Ours were made for about $1.50 per piece and that included 1 bag of fall maple leafs from dollar tree and a piece of felt that was 2 for $1 at a craft store. You don't NEED the felt but I thought it gave a nicer and more expensive feel then using something like card stock or cardboard. I can't wait to see how these look on our family table, with all the traditional thanksgiving offerings around it. I honestly think ours looks better then the ones from the other store. ;) For each placemat you will need: ⦁ 1 Piece Orange felt ⦁ Silk/Fabric leaves ⦁ Hot glue/e6000 Measure a dinner plate against the felt to use as a base & cut into a circle start on the outer edge and layer leaves in a spiral pattern overlapping the leaves slightly as you go. Allow glue to dry and enjoy your new decor!
0 Comments
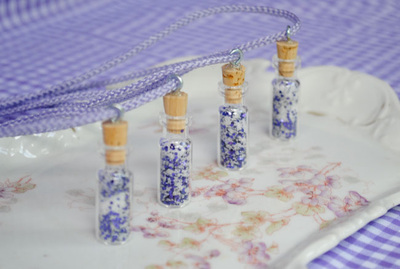
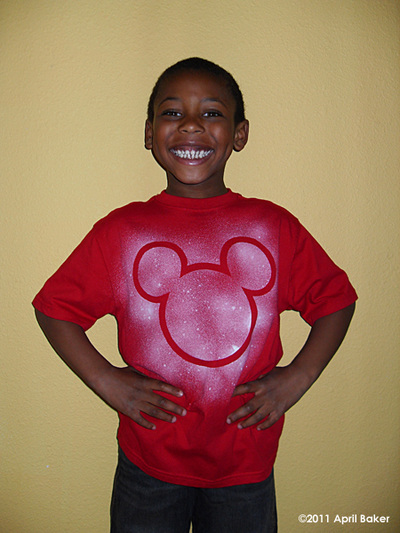
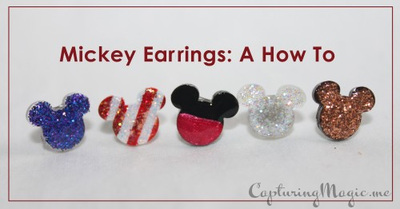
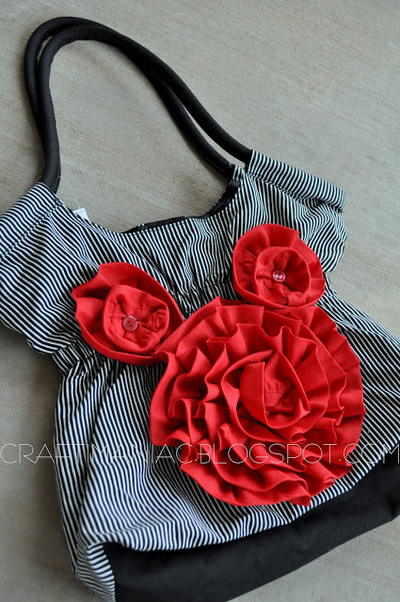
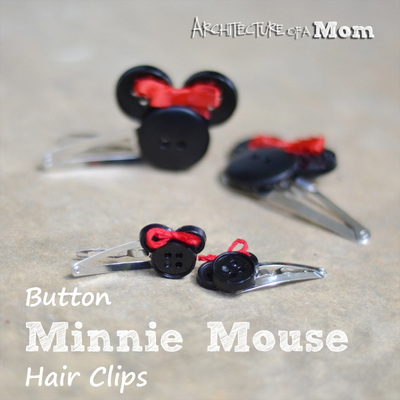
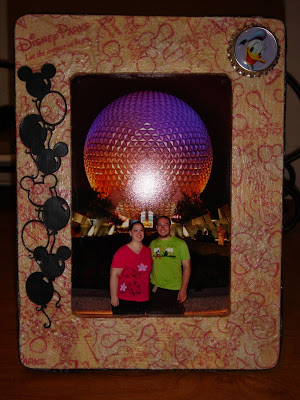
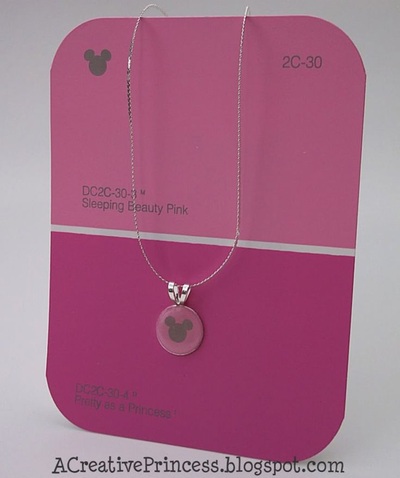
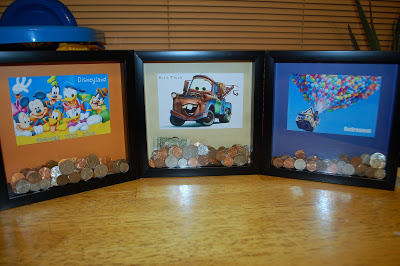
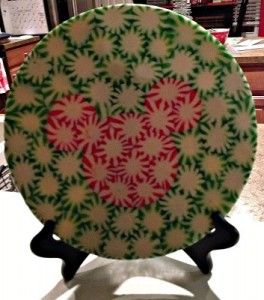
 Show your #disneyside this Christmas! Are you a Disney fan who wants to sprinkle a little pixie dust over your loved ones this year? Does the Disney fan in your life have everything they could ever want? Looking for a creative and cost efficient gift they are sure to love? Check out these awesome DIY Disney themed gift ideas! Are you going to attempt any of these adroable crafts? I'm thinking some mouse heads in my family would love these!!! Comment below and let us know if you are going to give any of these a go!! Happy Friday Family..Well if you are like a lot of people I know you are scrambling around trying to find that last minute Mother's Day gift or trying to think of something creative for the kids to do for Grandma..Well here it is...Reasonably priced, a lot of items you probably have around your house and the rest you can get at your local Dollar Store .You can even buy enough to make more then one jar! Make tomorrow night project night for the kiddies. They can even come up with some of their own ideas. I went to Clker.com to find a graphic which I printed out and made a mason jar topper with. Then I made a heart tag using the same graphic. Don't fret if you don't have a print program, you can either make your own or a piece of scrapbook paper will work out fine :) I typed out what each item means and taped it to the back of the tag. So have fun! Here's a list of what I used: Almond Joy bar- For all the joy you have given me Peppermints- Because your worth a mint Tea Bags- For when you need to relax Seeds: For helping me grow to who I am today Candle: For being my guiding light Cotton Balls- To help soften rough times Starburst: To give you a burst of energy when you need it Eraser: For life's little mistakes Paper clips: To keep it all together Puzzle Piece: Because your the piece that holds our family together Safety Pins: For life's little emergencies Feel free to add your own:) 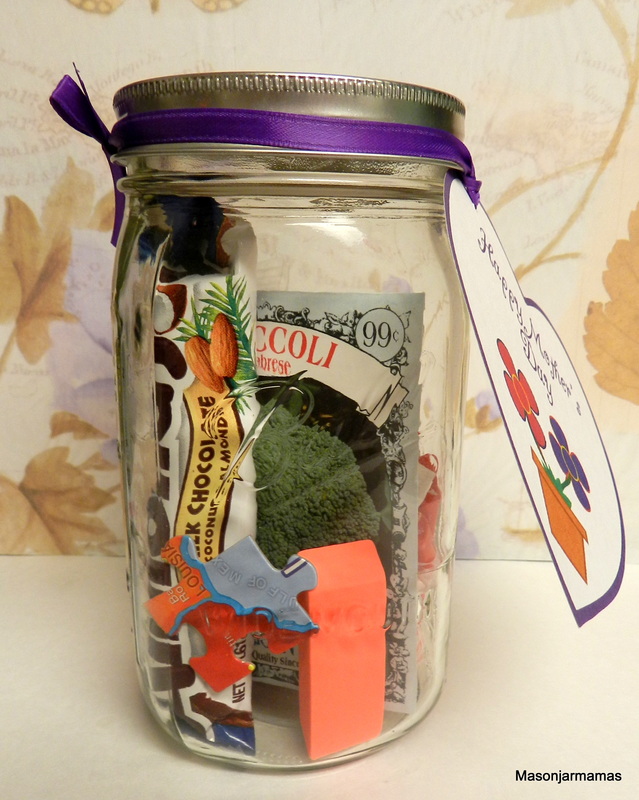 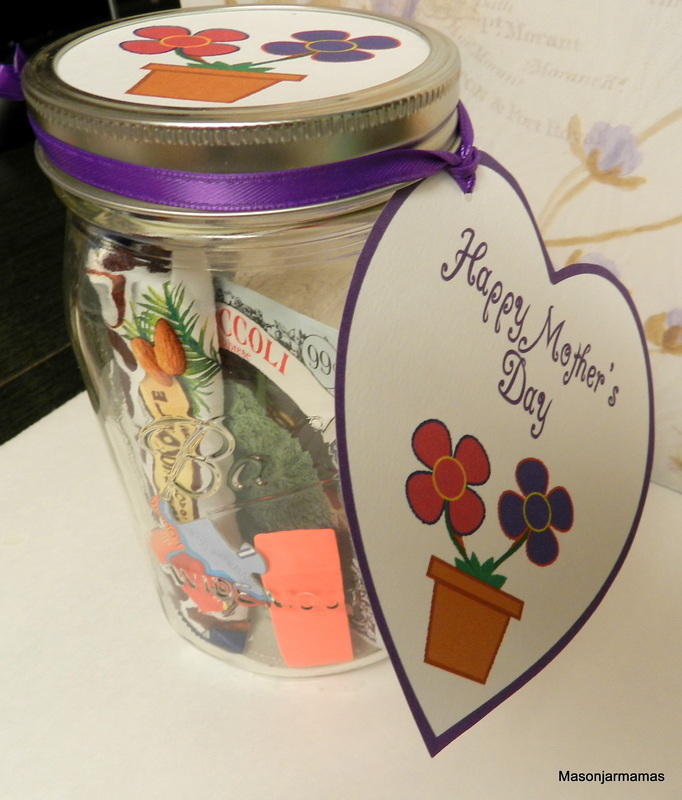 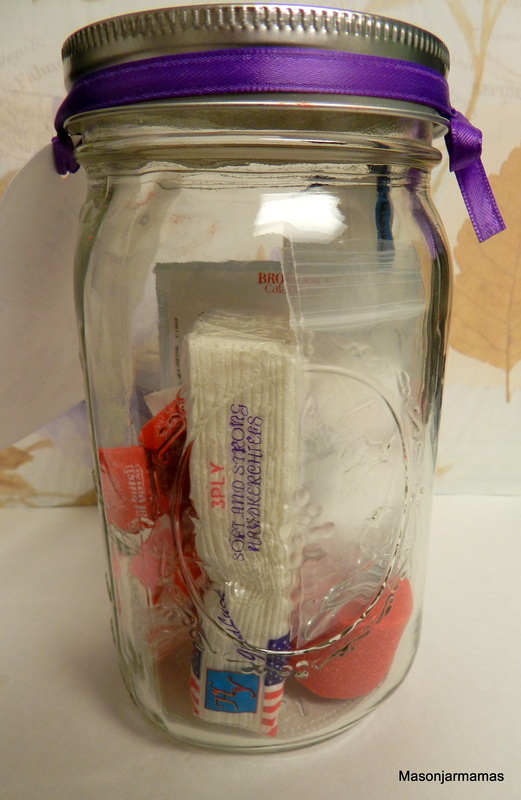 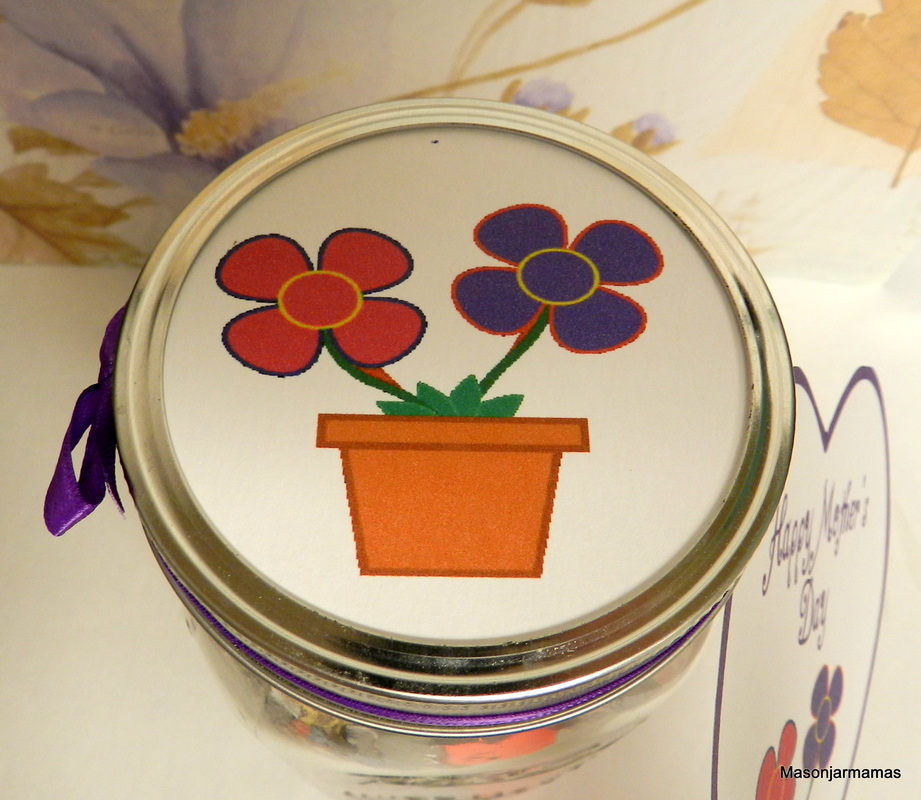 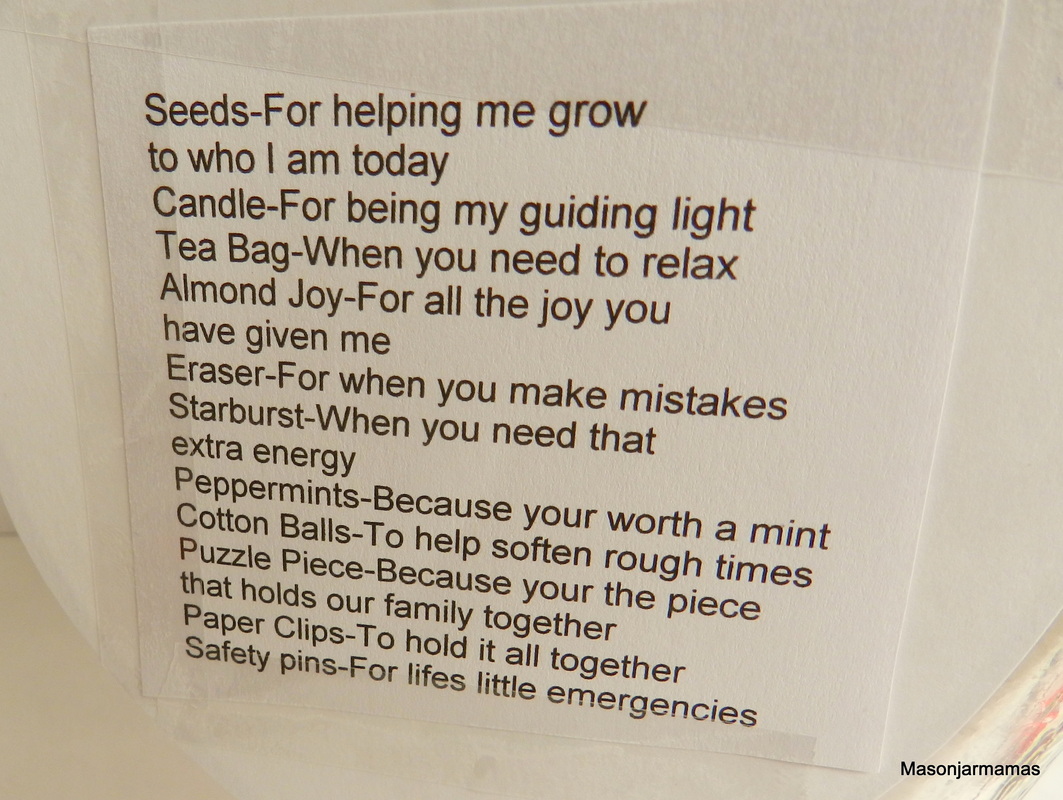 Free Mothers Day Graphics Download Below! |
|||


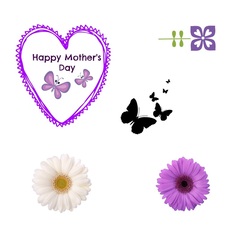
| mothers_day_2.jpg |
It seemed like I was watching the ball drop and it was 2013 and now already we are looking at 2014. I'm sure like last year it will be a year of discoveries and a year of changes. Maybe this year I will actually follow through with some of those resolutions I said I was going to do last year. lol I do have a lot of ideas with my Ebay business and also with my Etsy business plus I want to start blogging a lot more frequently. Along with organizing and eating healthier. Ok I'm tired and overwhelmed already! (J/K)
I have found in the past this was my weakness. I try to do everything at once and do get myself overwhelmed so this year I will take one day at a time and if I fall behind or slip up it's ok just move on...With that said we were working on a project before Christmas and finally finished it last night. We made Happiness Helper bags. These are bags we filled and are going to hand them out to the homeless. So many times we see people on the corners who just need something to cheer them up. My family and I have worked a lot with the homeless and you would be amazed at how just the smallest of things will put a smile on their face.
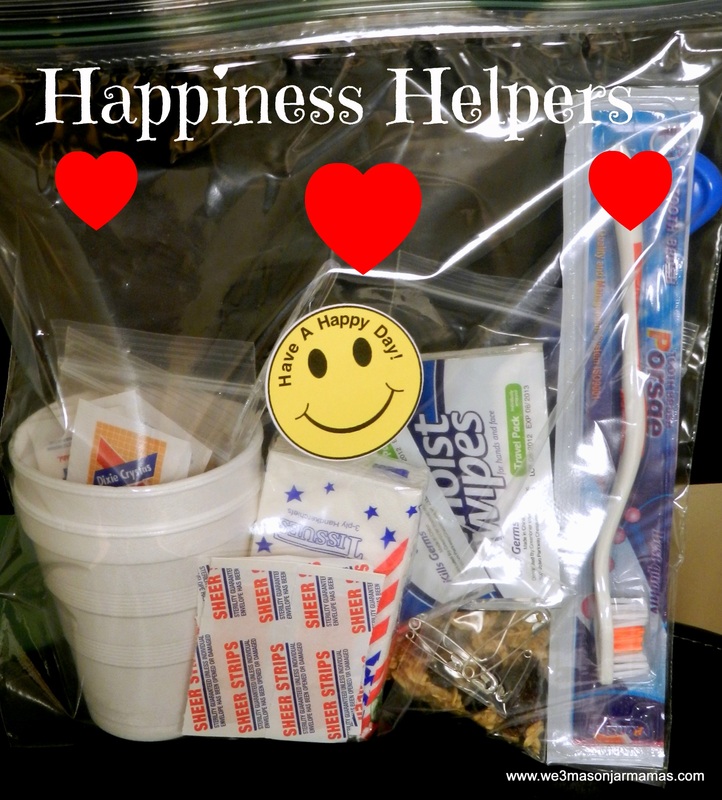
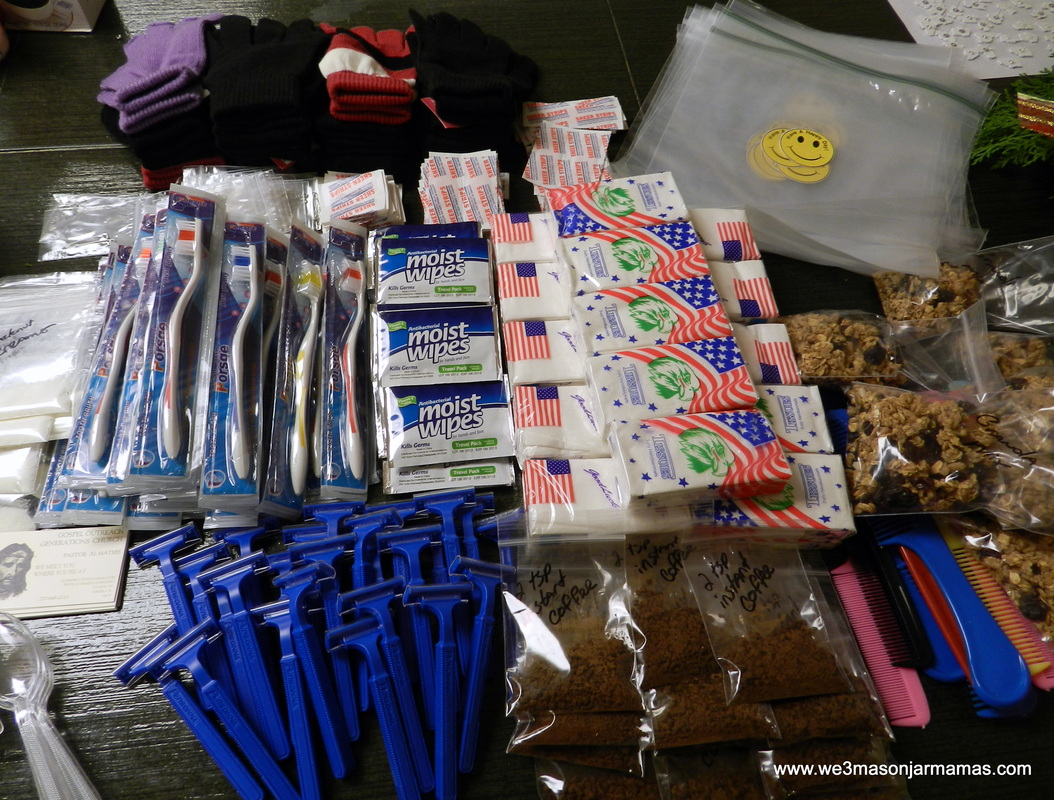
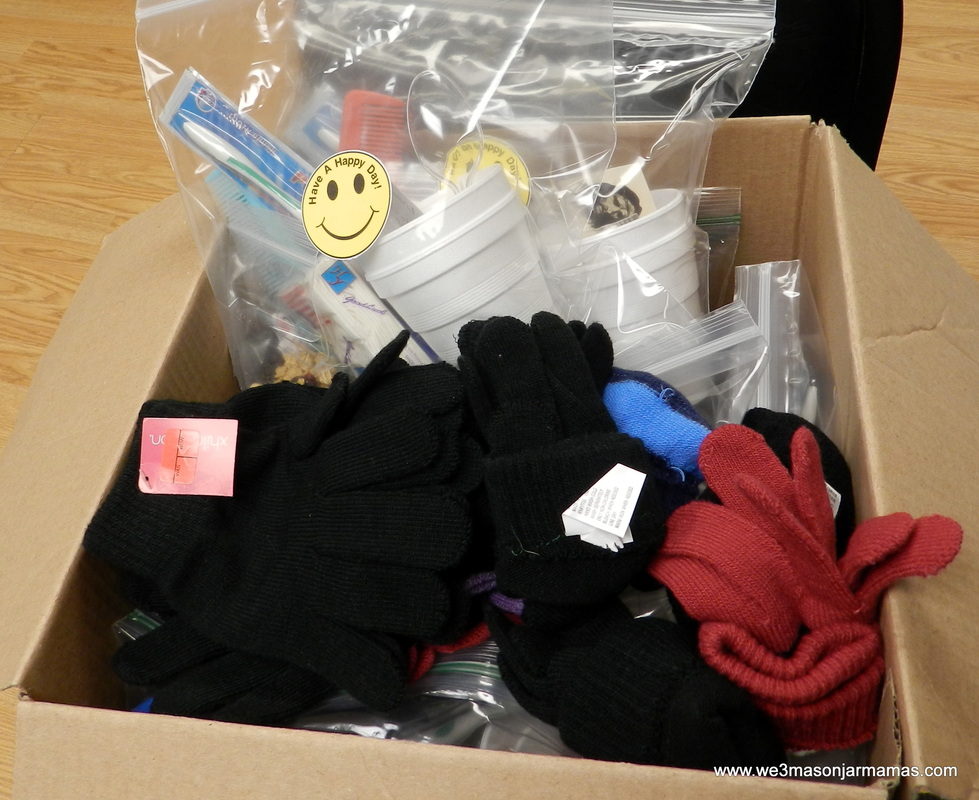
We are starting with 25 bags and when we see someone on a corner who needs cheering up well we have got something to give them.Happiness Helpers! Along with that since the weather is getting colder I also have gloves to give out. You would be surprised how many of the guys who sell the newspapers appreciated those! We do what we can with what we can but just to see one smile is worth it! Maybe you can make some happiness helper bags.You can use your own idea on what to put in them. Maybe you can get a deal on some things someone else can use. :) This is what we bought to assemble them. we do have some items left but we can use those next round.
One box of gallon size storage bags
50 Styrofoam cups we put 2 in each bag.
1 container of powdered creamer that we separated into 25 little bags
1 jar of coffee that we separated into 25 little bags
1 box 100 ct sugar packs (4 in each cup)
25 plastic spoons
2 boxes of Cascadian farms Granola cereal which I mixed with a container of raisins and made a granola mix then separated into 25 bags.
5 packs of 5 razors
5 packs of 8 ct tissues
3 packs of 10 combs
2 packs of 40 ct wipes (2 each)
3 packs of 10 ct toothbrushes
1 box of 100 band-aids (4 each)
1 pack of 100 safety pins (4 each)
1 card with Hubby's name & number (He is a Pastor) Sometimes you just need someone to talk too.
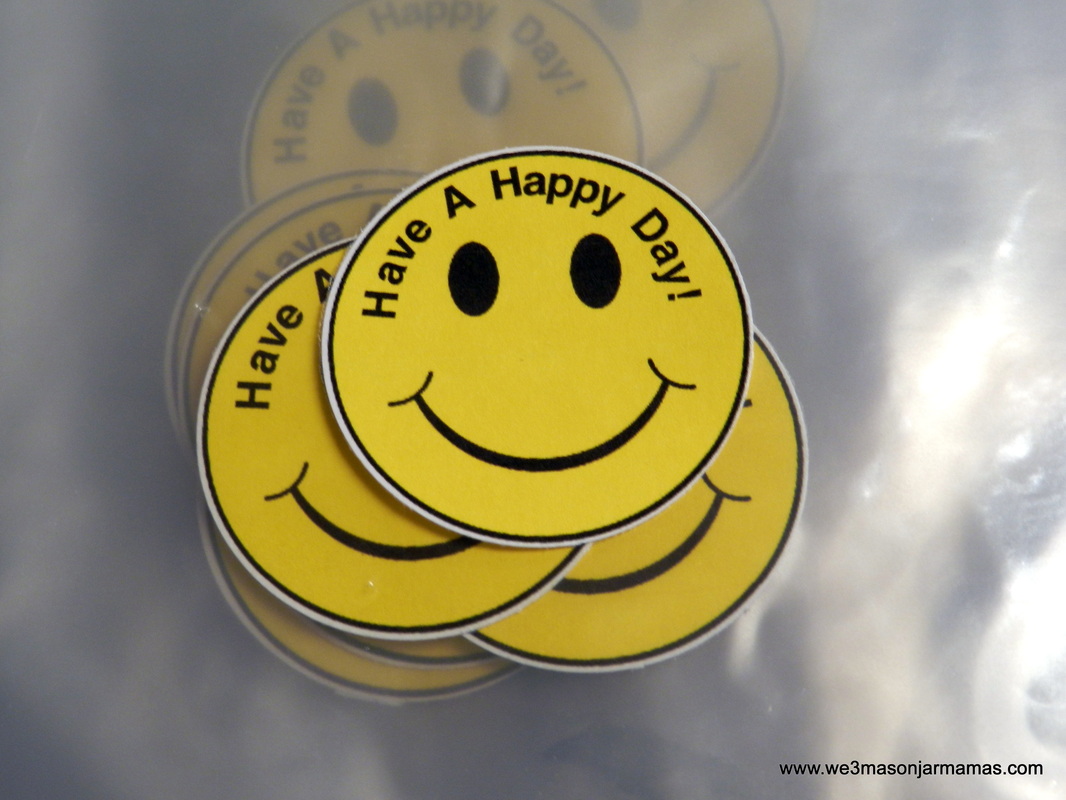
I then printed out some smiley stickers and affixed it to the front of the bag and voila Happiness Helper bags. Hopefully we can do this at least once a month. I also want to get some Hershey's hugs and make little you look like you could use a hug bags. Thank you Kathy McKelvey for that wonderful idea :) So here is a picture of what we made time to get busy and hand them out..till we meet again..Mama Carol
I have found in the past this was my weakness. I try to do everything at once and do get myself overwhelmed so this year I will take one day at a time and if I fall behind or slip up it's ok just move on...With that said we were working on a project before Christmas and finally finished it last night. We made Happiness Helper bags. These are bags we filled and are going to hand them out to the homeless. So many times we see people on the corners who just need something to cheer them up. My family and I have worked a lot with the homeless and you would be amazed at how just the smallest of things will put a smile on their face.
We are starting with 25 bags and when we see someone on a corner who needs cheering up well we have got something to give them.Happiness Helpers! Along with that since the weather is getting colder I also have gloves to give out. You would be surprised how many of the guys who sell the newspapers appreciated those! We do what we can with what we can but just to see one smile is worth it! Maybe you can make some happiness helper bags.You can use your own idea on what to put in them. Maybe you can get a deal on some things someone else can use. :) This is what we bought to assemble them. we do have some items left but we can use those next round.
One box of gallon size storage bags
50 Styrofoam cups we put 2 in each bag.
1 container of powdered creamer that we separated into 25 little bags
1 jar of coffee that we separated into 25 little bags
1 box 100 ct sugar packs (4 in each cup)
25 plastic spoons
2 boxes of Cascadian farms Granola cereal which I mixed with a container of raisins and made a granola mix then separated into 25 bags.
5 packs of 5 razors
5 packs of 8 ct tissues
3 packs of 10 combs
2 packs of 40 ct wipes (2 each)
3 packs of 10 ct toothbrushes
1 box of 100 band-aids (4 each)
1 pack of 100 safety pins (4 each)
1 card with Hubby's name & number (He is a Pastor) Sometimes you just need someone to talk too.
I then printed out some smiley stickers and affixed it to the front of the bag and voila Happiness Helper bags. Hopefully we can do this at least once a month. I also want to get some Hershey's hugs and make little you look like you could use a hug bags. Thank you Kathy McKelvey for that wonderful idea :) So here is a picture of what we made time to get busy and hand them out..till we meet again..Mama Carol
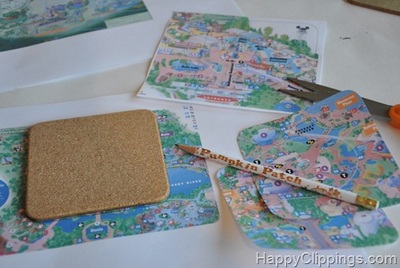
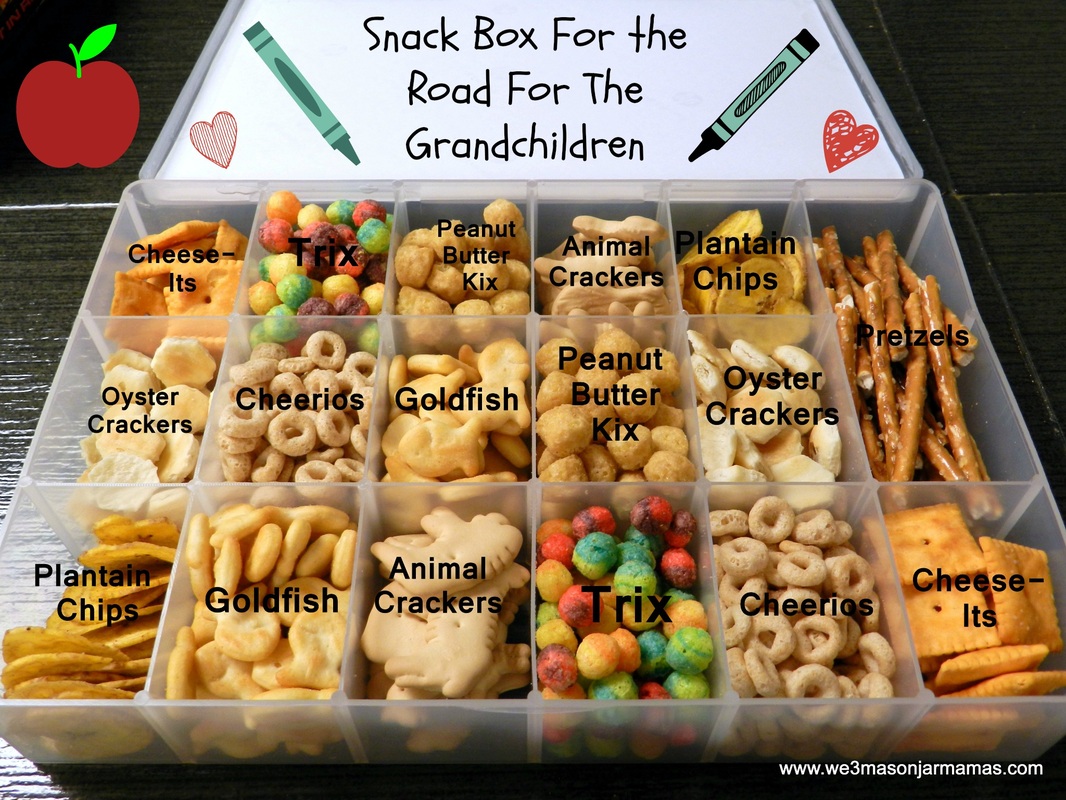
Happy Saturday everybody! I hope everyone is enjoying there weekend! I know there are lots of Harvest Fests going on and trunk or treats which by the way is what I am doing tonight. Well I'm not exactly doing it but I am taking my grandson and daughter and meeting up with the rest of the family there. We usually have a nice time and the kids really score without having to ring all the doorbells. I don't know if they have trunk or treats everywhere? Well if your not familiar with it what people do is park in a row or in a huge circle. With everyone's trunk facing you. They decorate the trunks with lights and decorations and fill it with candy. Then the kids are usually given a bag at the beginning and they walk along the cars and receive their treats. The kids love it! Anyway I had seen a few weeks back someone took a divided craft box and filled it with snacks.
Well I decided to make one for roadtrips. One of the things I was concerned about though was having anything sticky in it with the Florida heat. Well I think I lucked out when I was adding in the snacks because it has been in the car now in 95 + degrees for a week now and everything is still crunchy and nothing is sticky. Yay! I have to say Ryan absolutely loves it! In fact as soon as we get in the car he starts looking around for it! So I am showing you how you can make your own. Enjoy! Till we meet again..Mama Carol
Well I decided to make one for roadtrips. One of the things I was concerned about though was having anything sticky in it with the Florida heat. Well I think I lucked out when I was adding in the snacks because it has been in the car now in 95 + degrees for a week now and everything is still crunchy and nothing is sticky. Yay! I have to say Ryan absolutely loves it! In fact as soon as we get in the car he starts looking around for it! So I am showing you how you can make your own. Enjoy! Till we meet again..Mama Carol
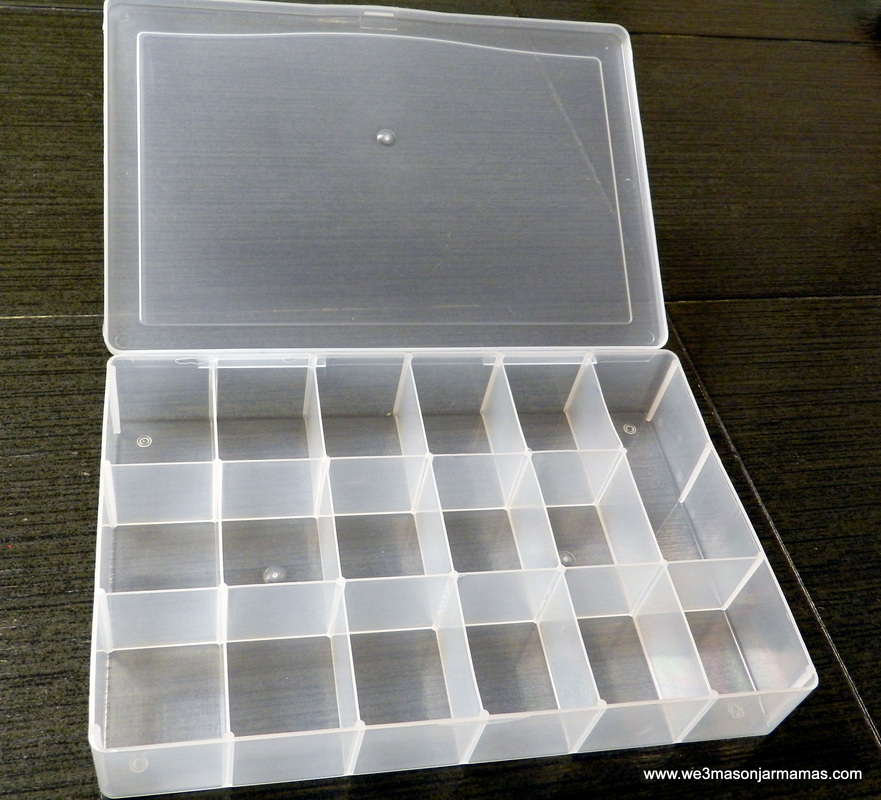
Start with a clear plastic craft box whatever size you choose...
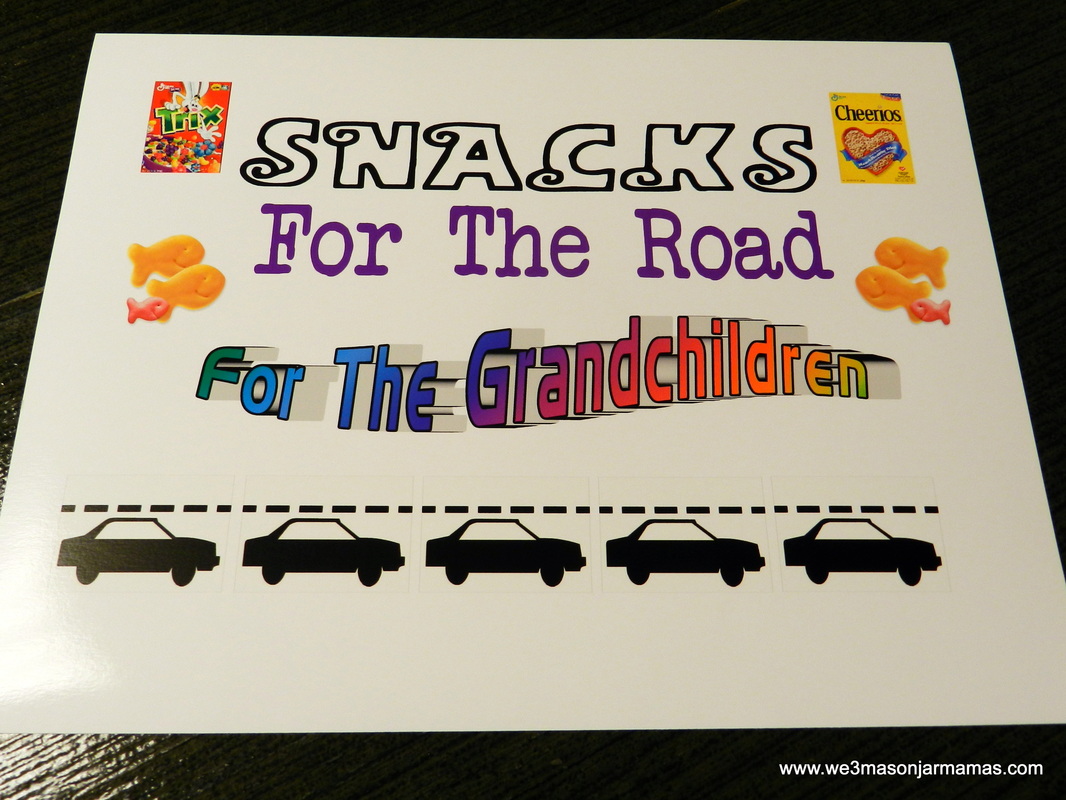
I made my template on the computer. You can do what you wish. Use scrapbook paper, have your child draw or color ect..
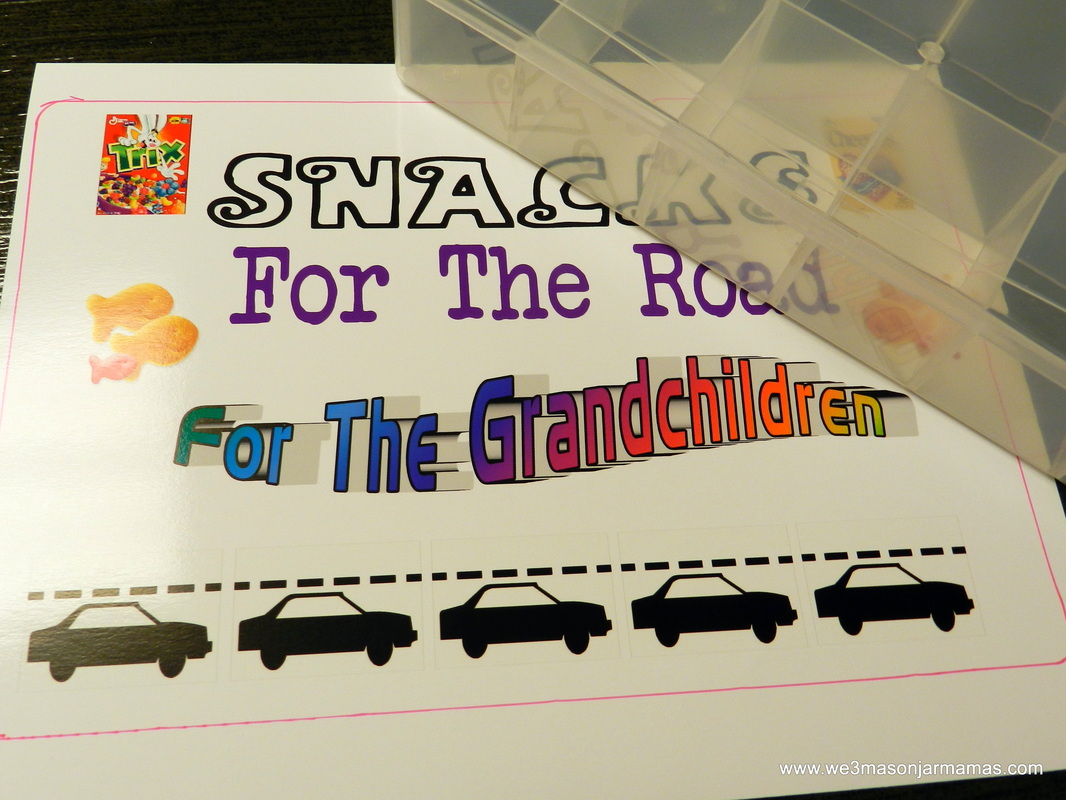
I just traced around the bottom of the craft box to give me where to cut to fit the template into the lid.
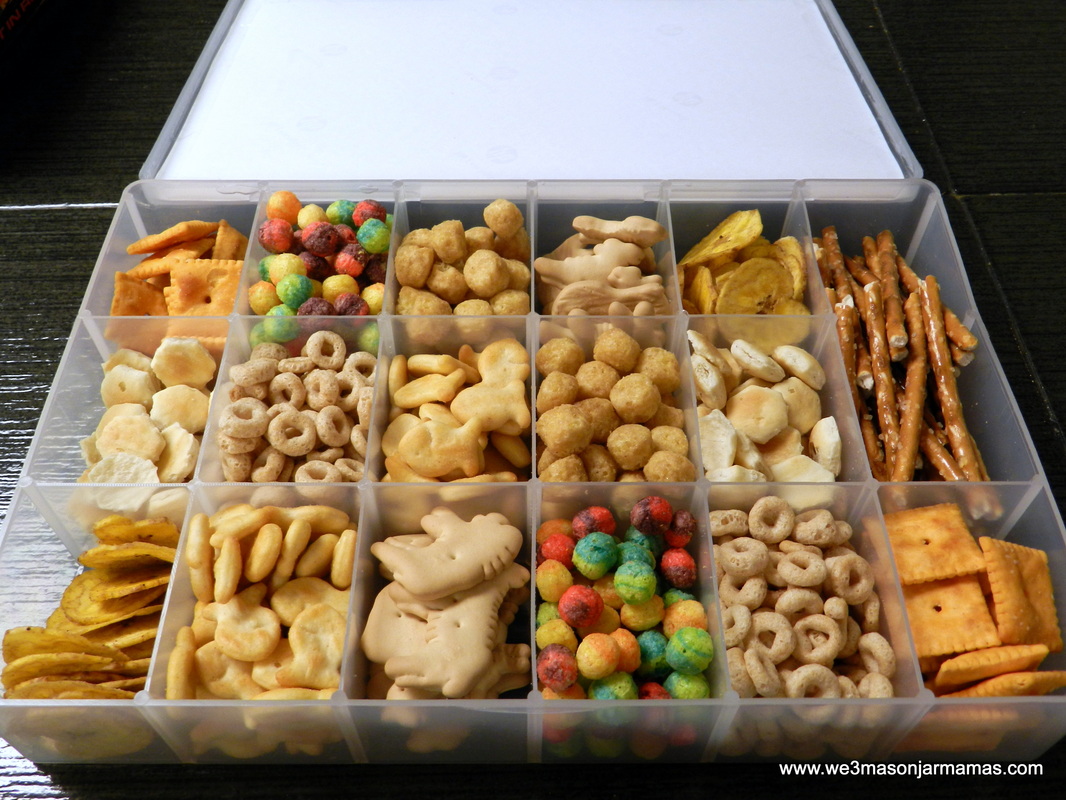
Tape your photo into the top and start filling. If you are going to have the box in the heat be careful with any sugary snacks. I tried to use non-sugared snacks as shown.
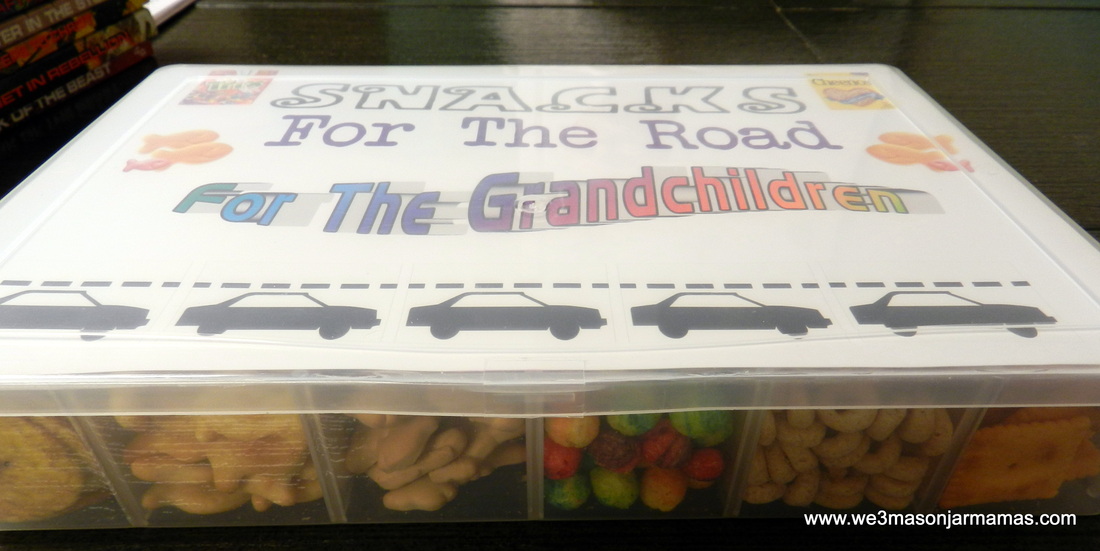
The finished product! Voila! Enjoy!
The nights are getting cooler, the stores shelves are showing hints of black and orange, and school is in session, it can only mean one thing, FALL IS ON IT'S WAY! Autumn has to be one of my most favorite times of the year, the colors, the scents, the flavors, the impending holidays, it's all intoxicating to my senses. The other day while browsing Dollar Tree ( My FAVORITE Store) I came across a bag of about 8-12 cinnamon sticks, I HAD to have them, though at the time I didn't know what I would do with them, but the scent was alluring. The next day as I finished tidying up the house I seen my cinnamon sticks on the counter, and opened the bag, just to smell them. Why couldn't I make my whole house smell like fall? I jumped on my computer to see how I could use these wonderful sticks of autumn memories, and found a plethora of recipes, which all called for an apple or apples to but cut up and placed in a pot of water along with your cinnamon. This won't do! I don't know about you, but in my house we don't just waste food, and then it hit me! The apple core that I had just thrown in the trash! Instead of a whole apple, I used the cores to the apples my son and I had eaten with our lunch! Into the pot it went, and within minutes, the water was boiling and my house was being permeated with the scent of apple pie!
1 Stick Whole Cinnamon
2-3 Apple Cores
2 Cups Water
Bring to a boil and let steam turn down to low and let simmer.
Be sure to check on your pot often so you don't run out of water.
1 Stick Whole Cinnamon
2-3 Apple Cores
2 Cups Water
Bring to a boil and let steam turn down to low and let simmer.
Be sure to check on your pot often so you don't run out of water.
Mamas:
Mama Carol
Mama Dawn
Mama April
Recipes:

Like Us:

Categories:
All
A-Z Blog Challenge
Christmas
Crafts
DIY
Kids
Parenting
Printables
Recipes
Weight Loss

 RSS Feed
Photos used under Creative Commons from clkohan, Dyanna Hyde, Michael's Cookie Jar, B*2, ohsarahrose, HannahWebb, rocknroll_guitar, bochalla, ccharmon, Ashley Coombs, Ava R., swambo
